At a glance
Begin with three paper colors, a small backing and scissors. Arrange the whole landscape before using a paper-compatible adhesive, and test an offcut first. A craft knife, cutting machine and a new paper assortment are optional purchases, not requirements.
On this page
An original practice project with schematic illustrations; no hands-on product test is claimed. Source checks: 2026-10-19.
Use the scraps as the starting point
Choose a small backing and three contrasting paper colors. Clean offcuts or suitable magazine pages can work for a practice composition, but their print and long-term behavior are not established. Our original prompt is a sky, two hills and a small sun; change the shapes freely.
You need paper scissors, a backing, a pencil if helpful and an adhesive labelled for the materials you are joining. Use the adhesive's current instructions. Keep a scrap of each paper for a trial and protect the table. This exercise does not require a craft knife.
Check the backing and adhesive together
A mixed-media label describes intended art uses; it does not certify every paper-and-glue combination. Canson lists drawing and wet-media applications for its mixed-media range, but we have not tested it as a glued landscape backing. Use a suitable existing backing when possible.
Before assembling the picture, join a small paper offcut to a spare piece of the backing. Allow the adhesive's stated drying time, then look for lifting, wrinkles, staining or ink transfer. Choose a different combination if the trial does not suit the result you want.
References: Canson US: XL Mixed Media.
The project, one small step at a time
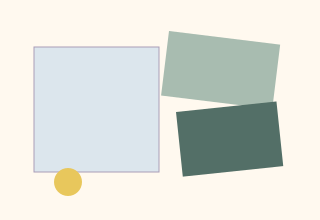
1. Choose a simple palette
Place the backing on the protected table. Choose one sky color and two hill colors that you can tell apart. Tear or cut two broad curved strips and a small sun shape. Keep the shapes larger than you think you need; you can trim after arranging.
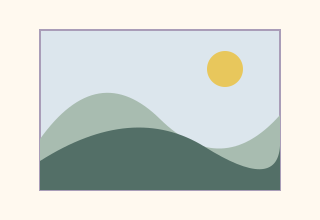
2. Arrange without adhesive
Place the sky first, then a distant hill and a nearer hill. Move the pieces until you like the balance. Let one hill overlap the other. Trim only when the arrangement is settled. A quick reference photograph can help you remember where the pieces go.
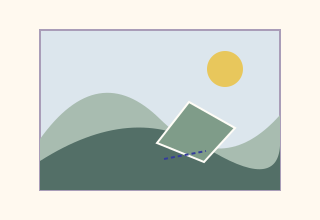
3. Attach from the back layer forward
After the material trial, attach the sky and then each hill using the adhesive's instructions. Lift one layer at a time so you can preserve the arrangement. Do not assume extra adhesive improves the bond. Keep the intended front face clean.
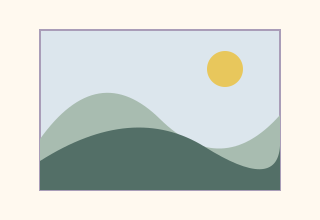
4. Finish one small decision
Place the sun, or leave it out if you prefer the simpler composition. Allow the piece to dry in an appropriate place. Check that the edges are secure before handling. Save the remaining shapes in an existing envelope for another landscape.
If the first attempt gets awkward
- The paper wrinkles
- Pause larger assembly and review the adhesive-and-backing trial. More pressure or more glue is not a universal fix.
- Printed color transfers
- Try another paper or adhesive on scrap. Do not assume every magazine ink behaves the same way.
- The arrangement feels crowded
- Remove a small shape and look again before attaching it. Empty sky is a useful design choice and costs no extra supplies.
Put the supplies to work
Sources and evidence limits
- Canson US: XL Mixed Media
Checked 2026-10-19. Manufacturer media applications, 98 lb/160 gsm pad and separate heavier sheet variant. No comparative performance testing.
Manufacturer information describes published specifications or instructions. Our buying choices and original exercises are editorial judgments. We have not tested these products. Prices, stock and comparative performance are not established by these notes.