At a glance
Practice a stem and a few leaves on watercolor paper, then use that arrangement on a flat card. Start with a spare swatch, allow layers to dry and check the finished card against its envelope. The illustrations show the sequence, not a photographed or tested outcome.
On this page
An original practice project with schematic illustrations; no hands-on product test is claimed. Source checks: 2026-10-19.
Choose one small outcome
Make a flat botanical note card, rather than learning folding, lettering and a complex painting at once. A 4 x 6 inch finished face is one possible exercise size; choose your actual envelope before cutting. The diagrams are schematic and must not be used as a cutting template.
You can stop after the spare-paper exercise. The goal is to learn what your paper, paint and brush do together. No particular result or completion time is promised.
Gather the supplies before wetting anything
Use paper labelled for watercolor, a compact watercolor selection, one round brush, a dedicated mixing surface, rinse water, a pencil and a blotting cloth or paper towel. Keep a small offcut for trials. Our linked kit makes the purchasing list editable; neither of the named paint sets in our comparison is required.
Canson's watercolor-paper description supports the medium choice, not a guarantee for every watercolor paper or every technique. Protect the table, use the paint's handling instructions and keep art containers separate from food use.
References: Canson US: XL Watercolor.
The project, one small step at a time
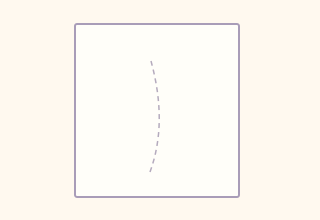
1. Plan the white space
Lightly mark a stem on dry scrap paper. Leave enough empty space around it for the card edge and any later writing. If you draw on the final paper, use a light pencil line and avoid repeated erasing. Decide where the stem will end before you start painting.
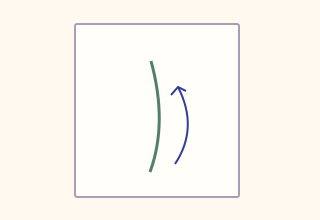
2. Try the stem on an offcut
Mix a small puddle of diluted color. On the offcut, pull the tip of the round brush along a short curve. Blot excess water if the mark becomes a puddle. When you have a mark you want to repeat, paint a simple stem on the card.
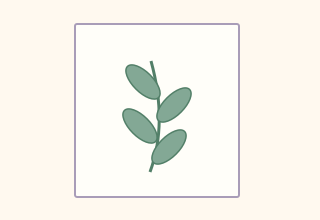
3. Add a few separate leaves
Start a leaf with the tip of the brush, press lightly to widen the mark, then lift toward its point. Practice that motion on scrap first. Put a few leaf shapes beside the stem. Leave space between wet shapes if you want to reduce unintended joining; let an area dry before returning to it.
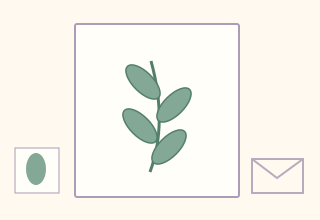
4. Let it dry, then decide
Leave the card on a suitable protected surface until dry. Add a second, small detail only if you want it. Check for dampness before stacking or placing it in an envelope. Keep the trial swatch and write down one thing to change next time, such as less water or fewer leaves.
If the first attempt gets awkward
- The leaf turns into a puddle
- Pause and try a less loaded brush on the offcut. Do not scrub the wet card while trying to rescue its shape.
- Two leaves merge
- Let that area dry before adding another mark. Deliberate gaps are part of this exercise; a merged shape can remain as a variation.
- The paper bends
- Allow it to dry and reassess the intended use. Check paper suitability and water load for the next trial; this guide does not establish a flattening treatment for every paper.
Put the supplies to work
Sources and evidence limits
- Canson US: XL Watercolor
Checked 2026-10-19. Manufacturer paper classification, cold-press texture and multiple available weights. This comparison selects 140 lb/300 gsm.
Manufacturer information describes published specifications or instructions. Our buying choices and original exercises are editorial judgments. We have not tested these products. Prices, stock and comparative performance are not established by these notes.